Painting Our Living Room
To paint or not to paint, the ultimate question. The answer is almost always a quick and resounding "yes!". However, painting may be easy, but painting really well, is hard.
After purchasing our first home, we immediately knew some things needs to change. Some things needed to go, some things needed to stay, and some things needed to be replaced. Almost everything could use some fresh paint.
The good thing was that everything, every wall, every trim piece, was painted white or off-white. This gave us a great place to start from and made visualizing what colors we wanted that much easier.
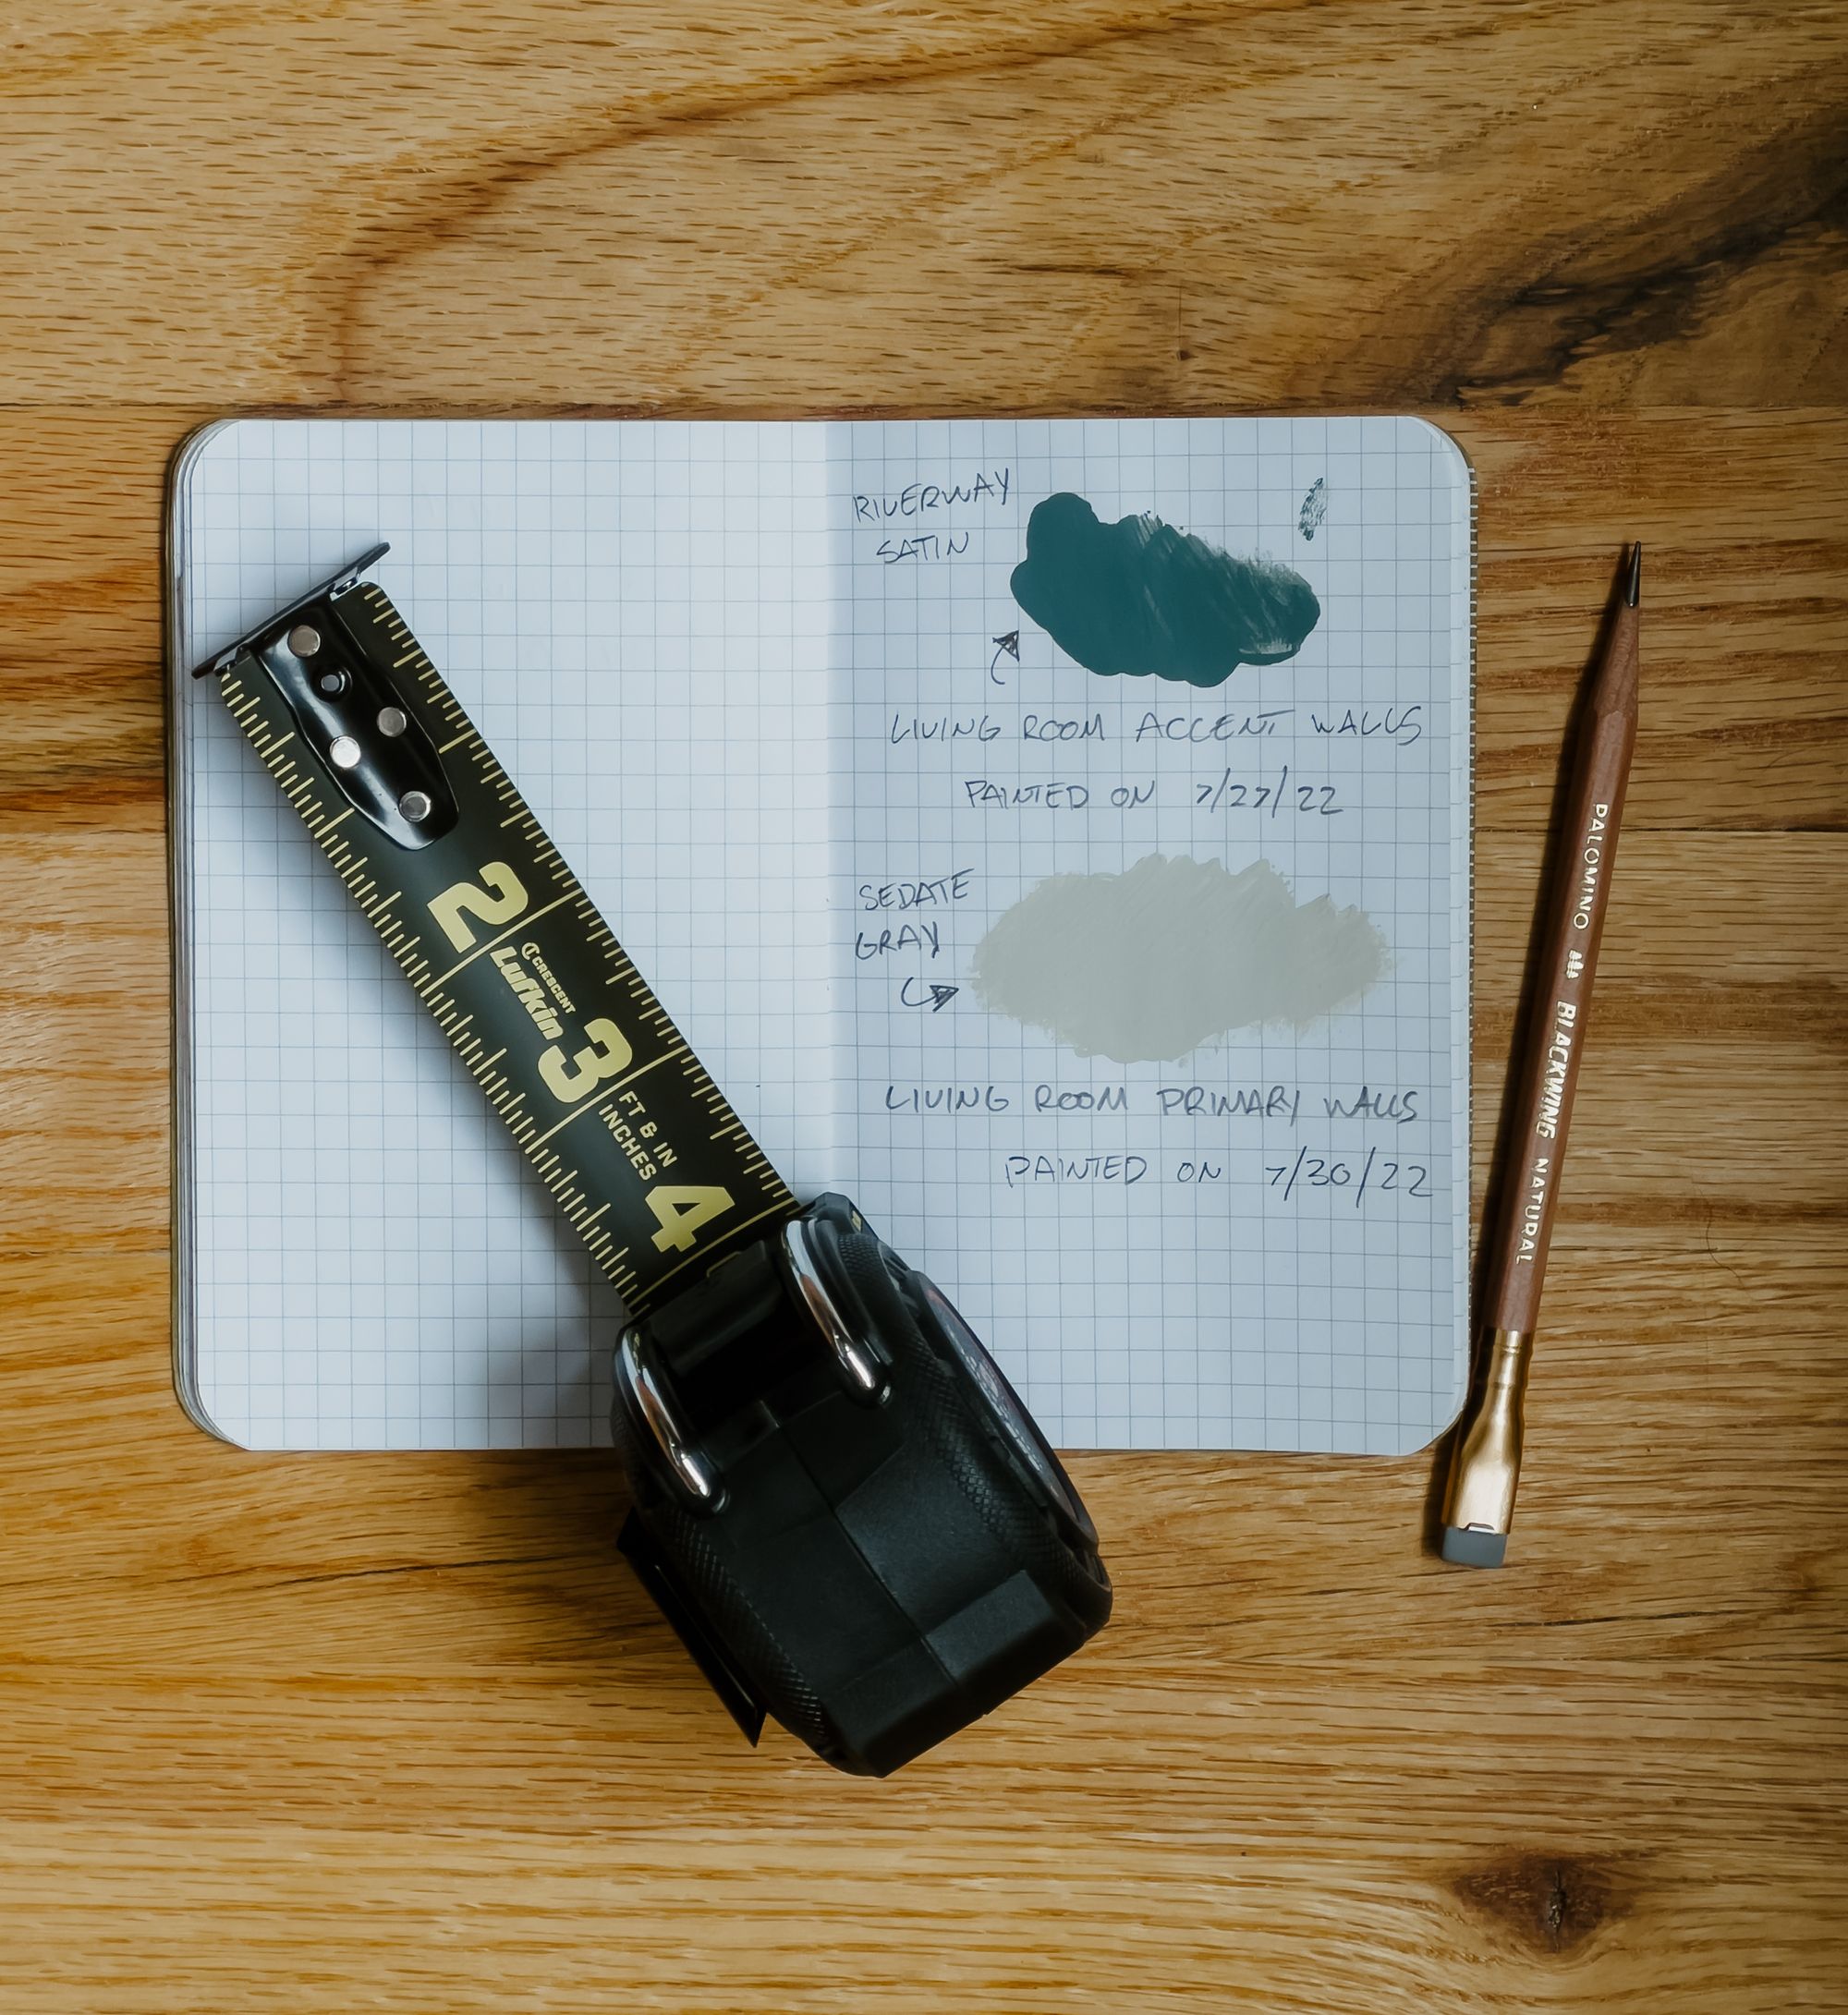
After looking at plenty of swatches and trying some samples we ended up choosing Sherwin Williams Riverway for our accent walls and Sherwin Williams Sedate Gray for our primary walls.
We decided on using the Sherwin Williams Ovation Plus sub-brand which seemed like the best performance-to-cost ratio we could get.
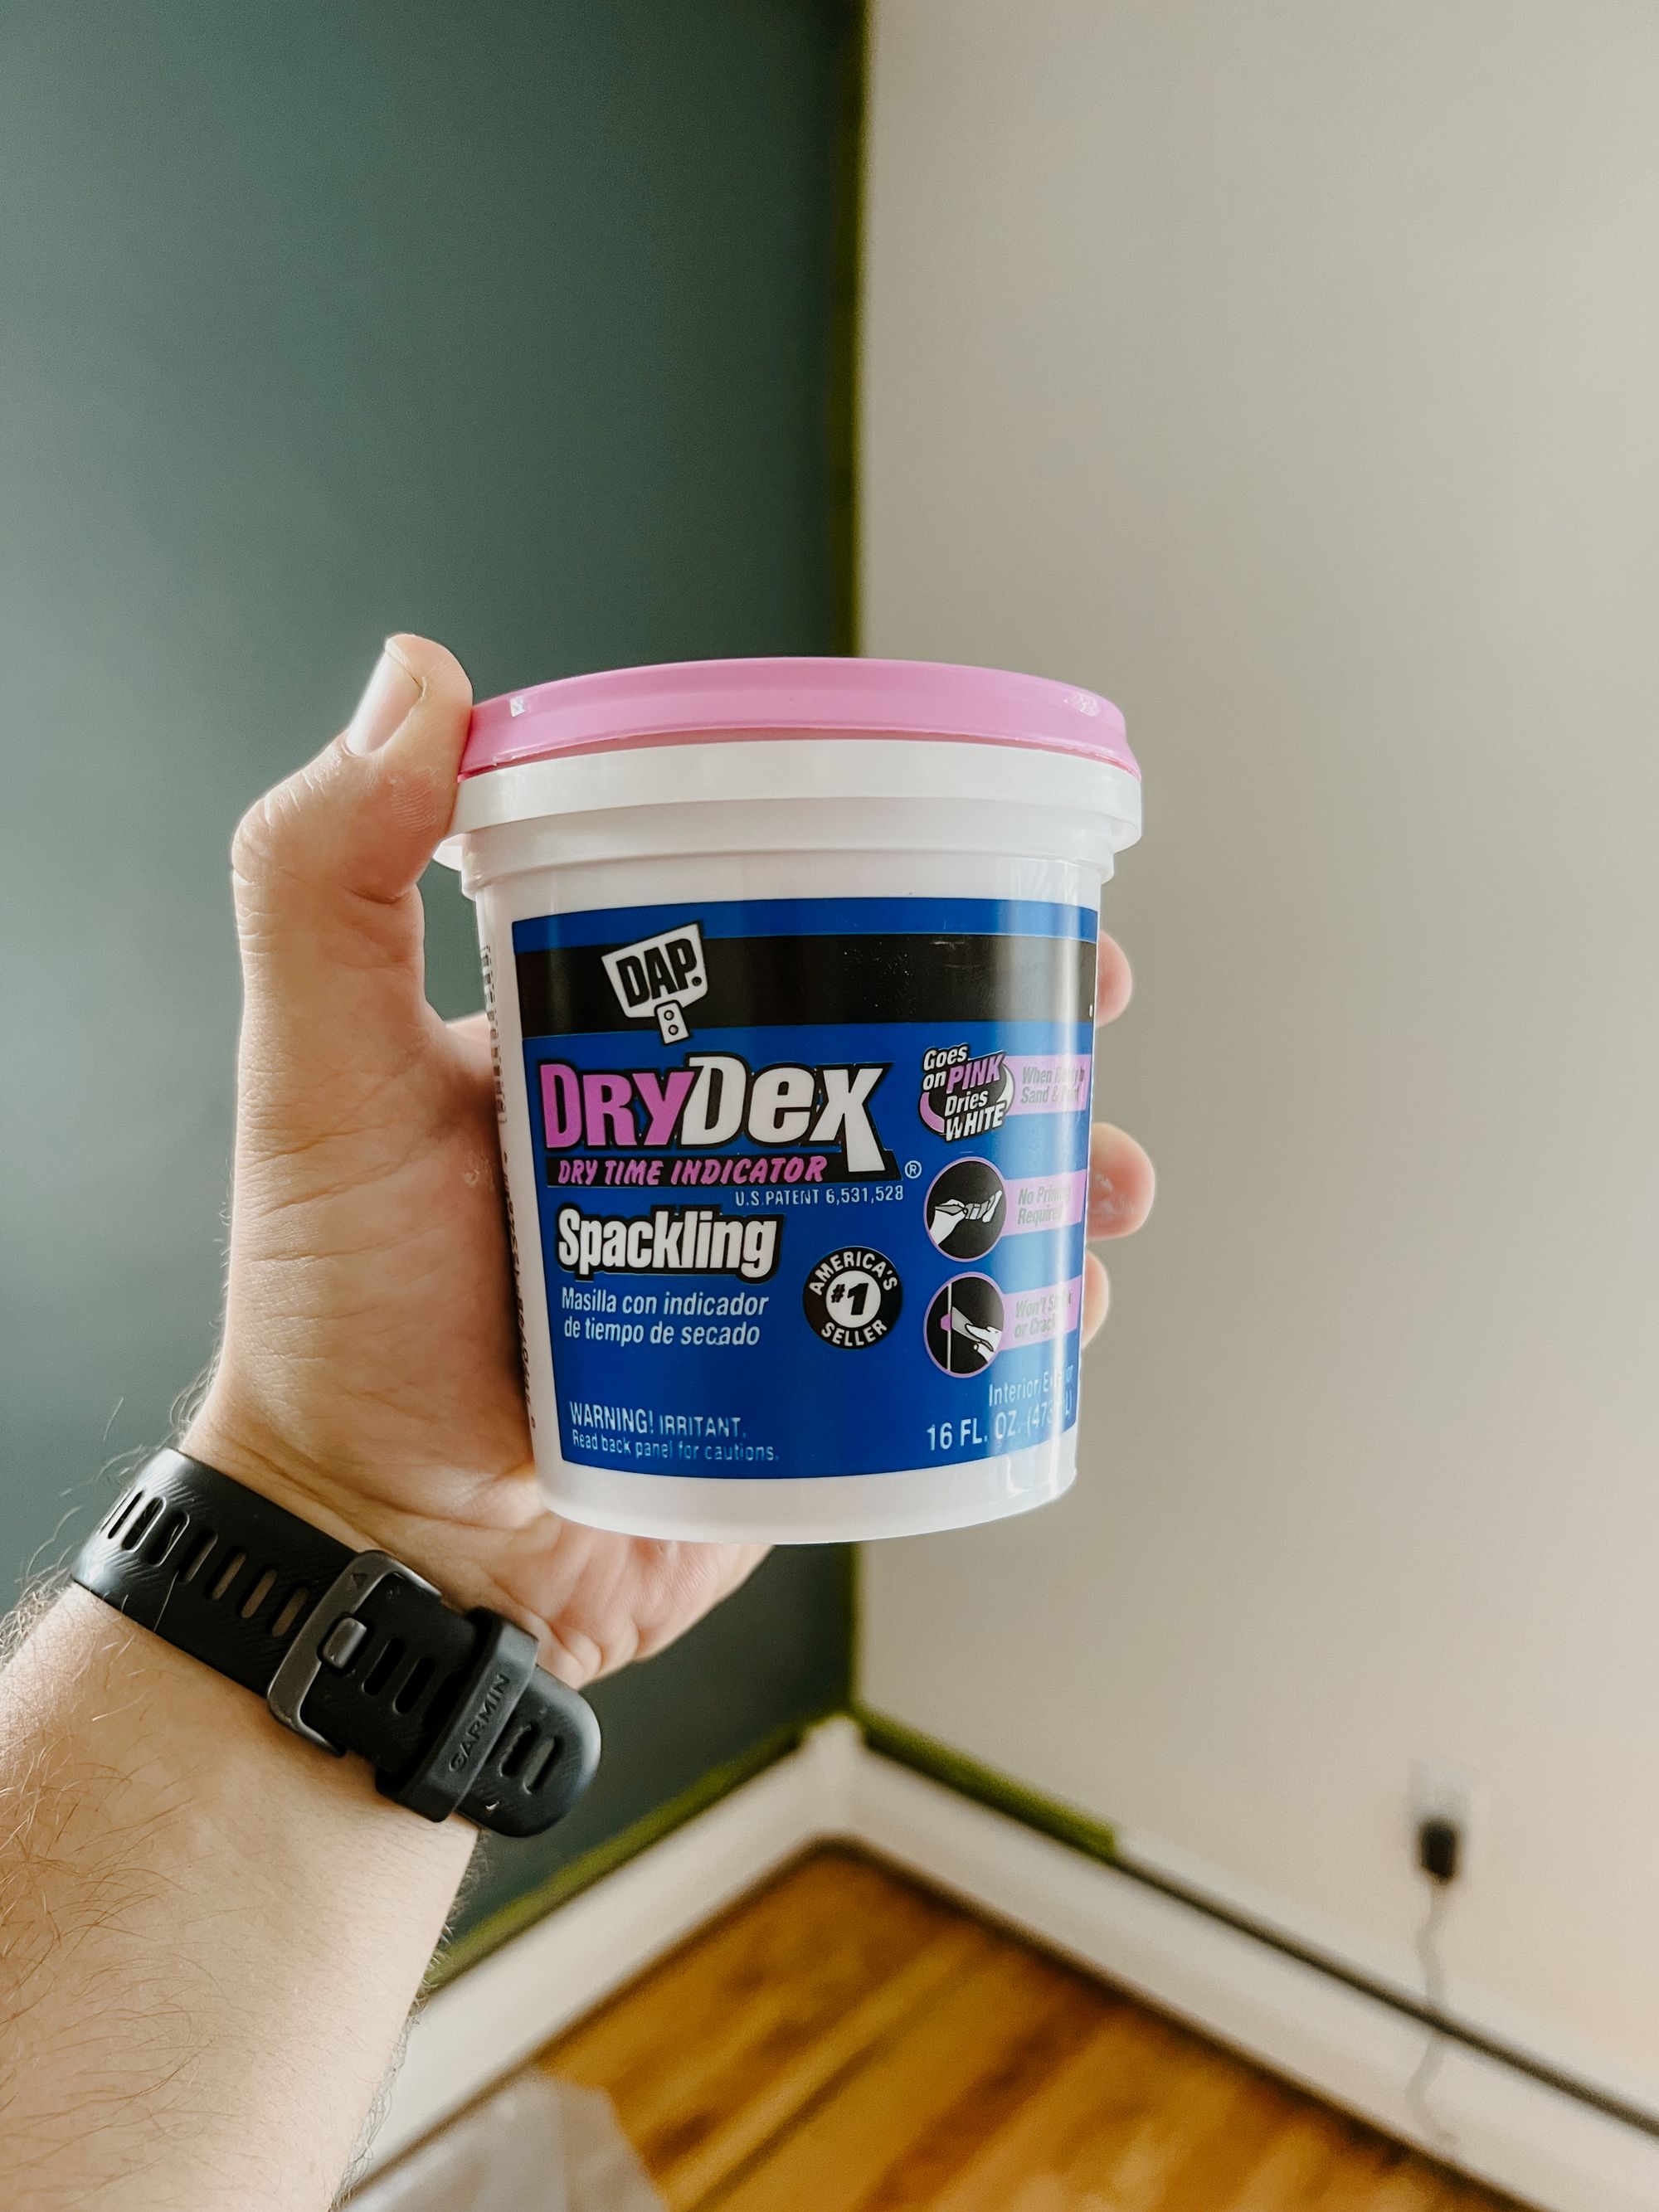
Once we had our colors picked out, it was time to prep. Most of home still has plaster and lathe walls so I wanted to be very careful to patch any dents/holes/missing pieces of plaster with a good spackling. I also tried to be very careful when removing any nails/screws to not pull any plaster off when removing them.
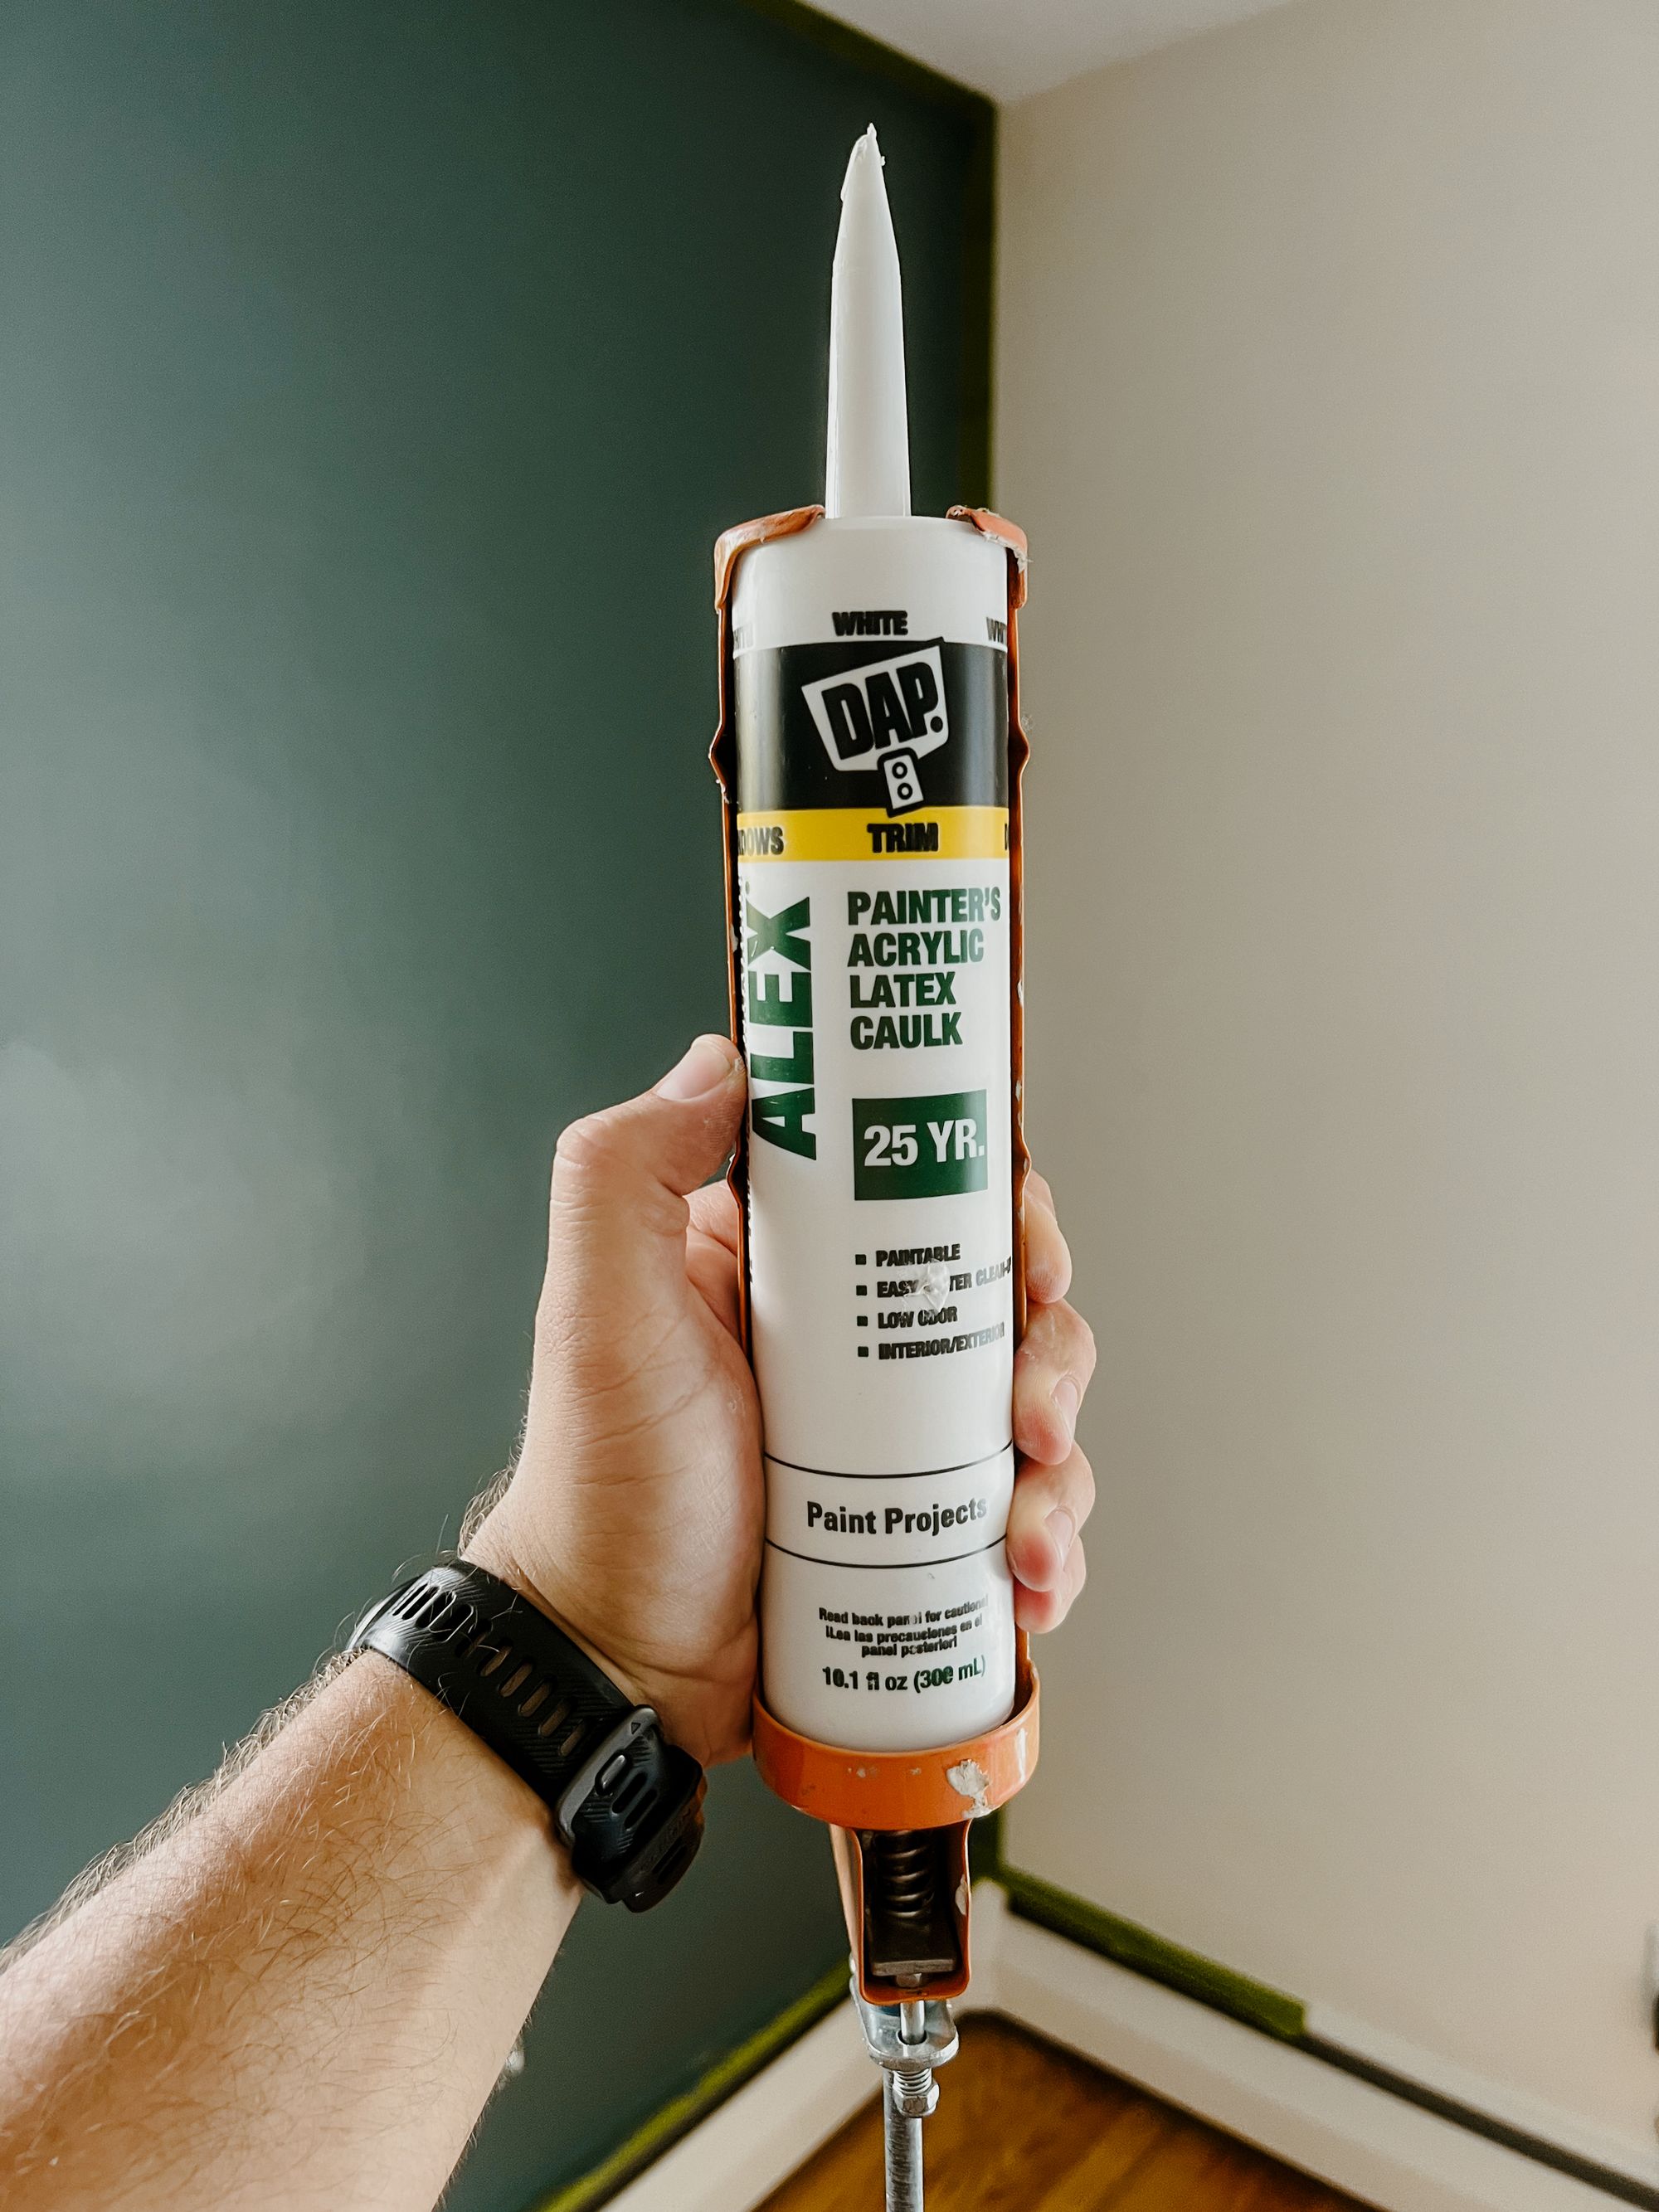
Once we had all of our holes filled, we moved on to caulking everything. The previous owners didn't caulk any gaps around any of the doors/windows/trim and there were some pretty noticiable gaps. I wish I had taken some before and after photos of this specifically because some of them made a drastic change.
While our painting is done, we are still waiting on our furniture to be delivered so a full reveal will be coming soon!
This has been my first full-room paint job. I sweat alot, cursed alot, but learned even more. Here are my key takeaways for me to remember in the future:
- Paint one wall at a time
- Buy more paint that you think you need, escpecially with darker colors
- Don't bother washing rollers, just let them dry, toss em' and buy new
- Seal your unsused caulk with an eye-bolt or something similar. Squeeze out some caulk around the threads, screw into tip, let dry
- Make sure your tape has a strong seal